Difference between revisions of "Daily Allocation Setup"
m (→Adding an Allocation.) |
m (→Adding an Allocation.) |
||
| Line 26: | Line 26: | ||
===<u>'''Adding an Allocation.'''</u>=== | ===<u>'''Adding an Allocation.'''</u>=== | ||
| − | To add an allocation for a product select the "Add Allocation Button". The following screen will appear: | + | {| |
| + | |- | ||
| + | | | ||
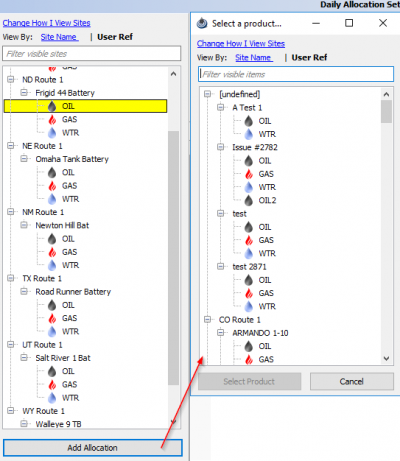
| + | To add an allocation for a product select the "Add Allocation Button". | ||
| + | |||
| + | The following screen will appear: | ||
[[File:Dailly Alloc Setup Add.png|400px]] | [[File:Dailly Alloc Setup Add.png|400px]] | ||
| − | + | | | |
Use the scroll or the filter option to find a site and select a product you want to allocate from. | Use the scroll or the filter option to find a site and select a product you want to allocate from. | ||
| Line 45: | Line 50: | ||
You will also be able to do this in monthly allocation setup, this is why is recommended to start your daily first. | You will also be able to do this in monthly allocation setup, this is why is recommended to start your daily first. | ||
| + | |- | ||
| + | |} | ||
Revision as of 21:39, 25 January 2020
Set up sites and products to be allocated and the order in which the allocation or allocations will be performed.
Main Screen
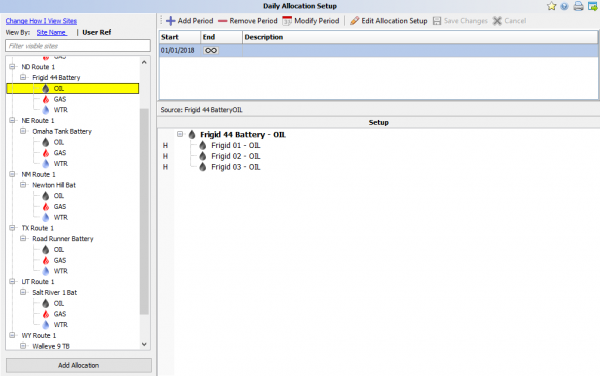
To begin select Daily Processes > Daily allocation Setup, the following screen will open:

|
This screen is almost identical to Monthly Allocation Setup, the difference being the test methods provided per each target. understanding this setup will make setting up the monthly side easier.
To the far left you can see all the allocations that already have setups. If you select one the right side will open up and allow you to view the targets and the tests that reside within it. From this panel, a period can be added, removed or modified. An allocation set up can also be edited in this panel. When an allocation is created first a period holder must be created and this is where the alloc record sits. Multiple periods will show different setups such as wells coming online. If you need to modify a period when something new is happening, make sure to end the current period, thus keeping a history and allowing the allocations in that time frame to still be allocated with that setup. When you add a new period the old targets will roll over and you can add or take away from them. Keeping the end date open the allocation will run as long as you need. If you try to delete out an allocation it will not modify the data but the original setup will be lost. There is a warning screen if it was an accidental click. |
Adding an Allocation.
|
To add an allocation for a product select the "Add Allocation Button". The following screen will appear: |
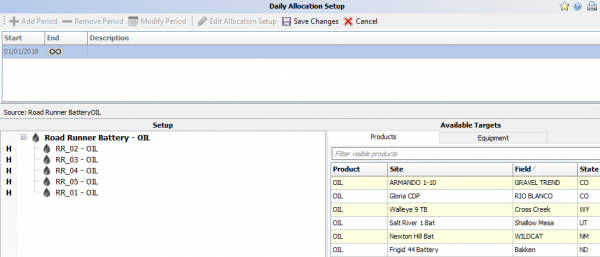
Use the scroll or the filter option to find a site and select a product you want to allocate from. Any product that is in this screen, does not have an allocation yet and is available to allocate. After you select a product you will be prompted to input in a start date and you can also add in a description for the new period. Make sure it matches the other products if they come on at the same time. When the date info has been added then the target selection screen will appear: To add in sites select the site on the right using the filter to find it and click and drag over or double click. Shift and Ctrl select is also allowed here. A feature of adding in other allocations for a site is that if one product has been added in then the others will be able to automatically fill in the matching targets. You will also be able to do this in monthly allocation setup, this is why is recommended to start your daily first. |

