Syncing Data
Follow these steps to properly sync your data.
◄ PumperX2
Initial Set-Up
To install PumperX2 only Click Here
Syncing data in Prams is done when there is an offline user profile set up.
Use Analyst > User Maintenance to set a person with a User ID, Password, and Assign Routes.
Once that has been done and the data has been shared to the user then PumperX2 can be configured with an offline entry mode.
Configure
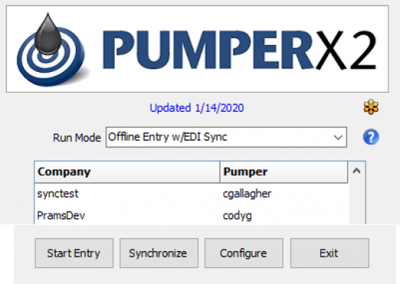
1. Once PumperX2 has been installed, use the shortcut on the desktop to open up the launcher screen:
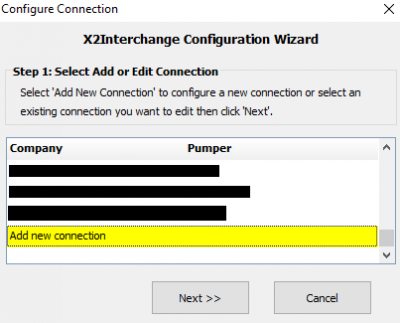
2. Select Configure to launch the Interchange Wizard:
3. Select 'Add New Connection' then click next.
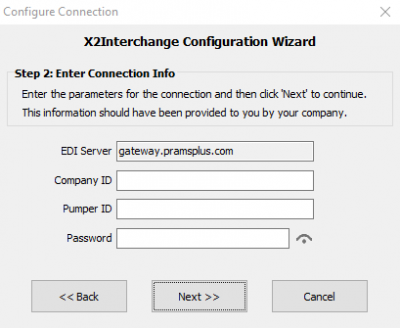
4. For this you will need the Company Name which is specific to the EDI Name that Prams set up for the company. Your analyst should know the required info, if not call Prams at 303-904-6855.
Fill in the User ID (not case sensitive) then the Password (is case sensitive), the password can be viewed by clicking the eye symbol to the right. Select Next.
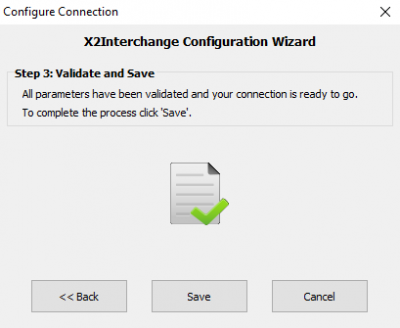
5. You will then proceed to the configuration window that will verify if you have input the correct credentials that will create a handshake with the server.
When the connection has been made the following screen will appear:
6. Now that you have set up the connection the database needs to be pulled down from the main server.
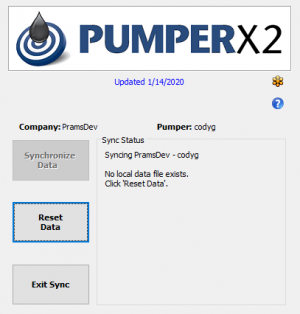
Select your Id if there are multiple IDs and then click 'Synchronize' which will take you to the following screen:
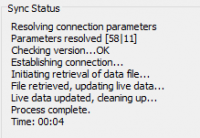
Select Reset Data and make sure the sync log doesn't contain any errors, when this is done Pumper is configured and will remember your changes:
Every Day Sync
Once everything is configured you now can use PumperX2 with the saved credentials on a daily basis. An internet connection is required to proceed.
The recommended process to follow everyday is:
- Start the PumperX2 application.
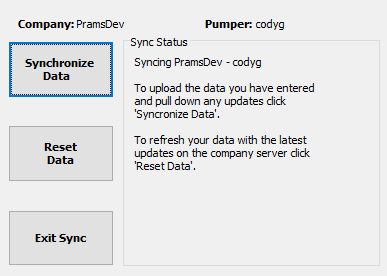
- Click the Synchronize button.
- Click the Reset Data button to refresh your data.
- Click Exit Sync to return to the main screen.
- Click Start Entry to enter you data for the day.
- Enter you data for the day, when done click Exit Entry Process.
- Click the Synchronize button on the main screen .
- Click the Synchronize Data button to upload your entered information.
