GoTo Meeting
This page will show you the GoTo Meeting process and show you how to install the opener for later use.
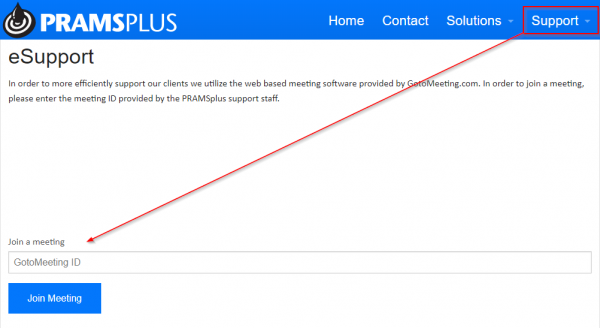
1. Go to PRAMSplus.com and clcik support and enter in the provided nine digit id then click Join Meeting. This will start the meeting process.
Alternatively launching GoTo Meeting from their website gotomeeting.com and clicking join in the top right. You can also launch this website by selecting the help option from PRAMS,
you will be directed to this screen where you will enter a nine digit id given by a prams representative. When the access code has been entered click join
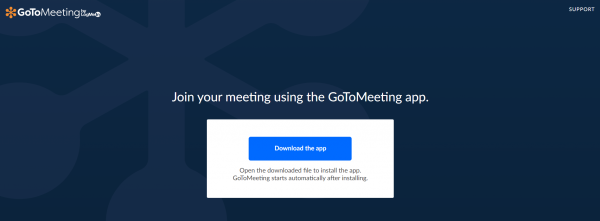
2. Next select 'Download the app' button to start the download. This shouldn't take long even with a spotty connection.
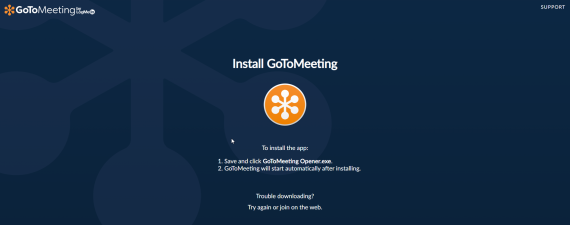
3. Once clicked it will start the download. Once the exe has been downloaded cick run on the file.
If you are using Chrome it will show up on the bottom left, if you are using Firefox it will be under the download icon on the top right,
and if you are using Internet Explorer it will appear as a bar at the bottom asking to run or save, select run for this case.
Chrome, Firefox,and Explorer
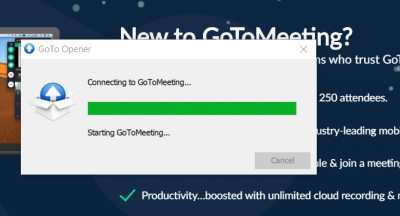
The GoTo Meeting exe will start running, this should only take about a minute to run (a little longer on slow connections).
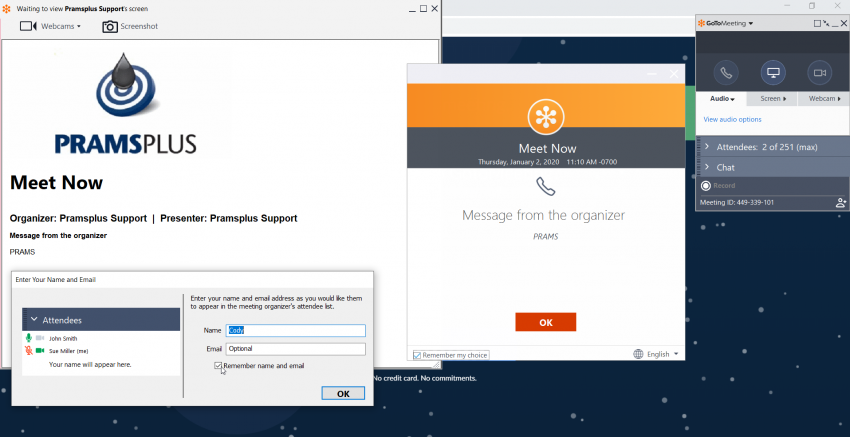
4. Once downloaded the following screen will appear:
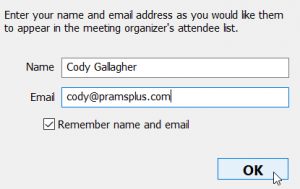
Enter in your name and email, make sure to check-mark the remember box so that next time you can get right to the meeting.
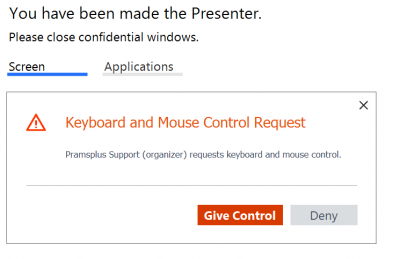
5. Next click OK in the message from presenter pane and the following will appear from your PRAMS representative:
This will allow the PRAMS rep to move around on the screen to diagnose the issue.
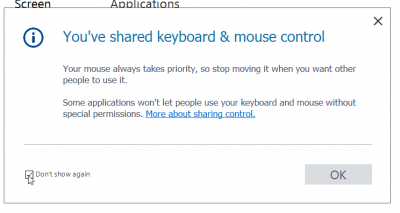
If you ever need to move or want to take control you always have priority to move the cursor over the PRAMS rep just in case.
Click the do not show again for faster access next time:
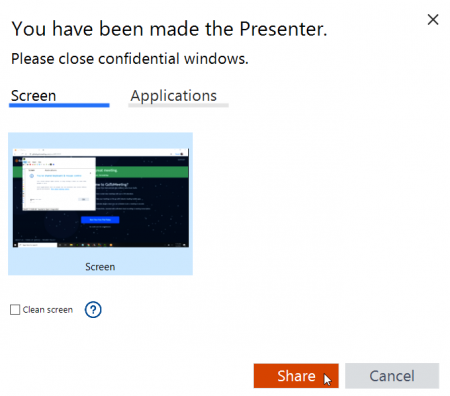
6. After giving control its time to share a screen or application. We recommend sharing the screen as its easier for us to move around.
We also recommend that if you have 3 or more monitors to only share two as the resolution is very small on our side.
If you have two and only share one monitor you will have to drag apps that appear on the un-shared monitor
If you do not want to display the background of your PC you can select clear screen and it will have a blank background, this is optional.
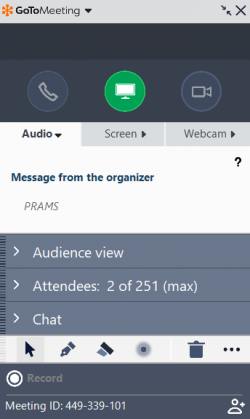
7. The final pane will be the control panel for the meeting. You can use this to share more monitors, see who is in the meeting, use tools, see the meeting id.
While the PRAMS rep is controlling the cursor the pane will become transparent and if you want to get rid of the pane then select the two arrows facing one another and it will minimize.
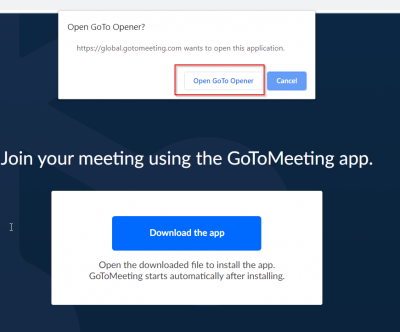
8. After your first GoTo Meeting the GoTo Opener will have been installed and for future meetings, after entering in the 9 digit number provided by a PRAMS represenative you can just click Join then Open GoTo Opener.
There may be future updates but this proccess will get you into the meeting faster and start out at step 4.
Copyright © 2026 by PRAMS Plus LLC. All Rights Reserved.
